False lashes aren’t just a passing trend. Even though wearing false lashes is often trendy, our passion for fake eyelashes isn’t going anywhere anytime soon. In fact, wearing false eyelashes has been around for decades, and the voluminous, super dark lashes that were popular in the 1960s are back in style and groovier than ever. Today’s options for eyelash wear are numerous, and we’re happy to be able to change our lash style anytime we choose. From long and lengthy to voluminousand flirty, there’s a style of lash for every occasion, and removable, reusable lashes give you the power to choose how your lashes show up to the party.
If you’re new to the falsies game, or maybe a seasoned makeup artist that just wants to brush up on proper false lash maintenance and care, you’ve come to the right place. Doe Lashes not only provides the highest quality, Korean silk lashes available, we are also your one-stop-shop for all things trending in the lash world. We exist to bring you the best lashes possible and all the information you need about them so your lashes are always on point, and you are always in the know about the latest lash beauty trends, tips, and tricks.
As such, we know removing false lashes can be an afterthought. Applying false lashes almost always gets more attention than taking them off, and it’s easy to understand why. When we are applying our false lashes, we are usually fresh and full of energy, and busy carefully crafting our look and style for the day. As such, we never want to mess up our makeup or have to reapply our false lashes, so we are usually super careful about applying adhesive (aka eyelash glue), fitting the lash band to our natural lash line, and making sure they look perfect.
Taking our lashes off is almost an afterthought. How many times have we simply ripped them off, no adhesive remover, one side from the other, because we are tired by the end of the night, have forgotten about them until bedtime, or just don’t want to be bothered with removing them in a way that actually makes them last as long as possible? We get it. But if you really want your reusable lashes to last as long as possible, removing them the right way is really important. Removing your lashes properly is usually a sign, too, that your false lashes will be stored properly. If you’re ripping them off right before bed, chances are those babies are gonna end up on your night table and exposed to cups of water, ceiling fans, and other dangers.
We know you wear your false lashes because they are a great investment; for a low price, you can build a collection of lashes that keep you styled for months at a time verus going to get eyelash extensions that offer no diversity or styling flexibility. As such, it’s worth your time and effort to learn to remove your lashes properly. Removing them improperly really shortens the lifespan of the lashes, and can even break them if they’re removed too roughly. If you’re a little lost, that’s okay. Here is our fool-proof guide to false eyelash removal done right.
How to Properly Remove False Lashes
If you’re ready to really grow up with your lash removal, all you have to do is follow these simple steps. We promise it won’t take more than a minute to remove and store your lashes like a total professional, and in the end, your lashes will reward you by lasting longer and looking as fresh as the day you got them.
- Begin by getting as close as possible to the lash band as you can. If you try to remove them by pulling on the tips of the lashes, the individual lashes could pull out of the lash band. Additionally, if your lashes have been worn numerous times, you could risk breaking the lash band. Doe Lashes are attached to a comfortable, cloud-like cotton band. These strip lashes are durable but need to be handled with care as it is a very small band to ensure maximum comfort.
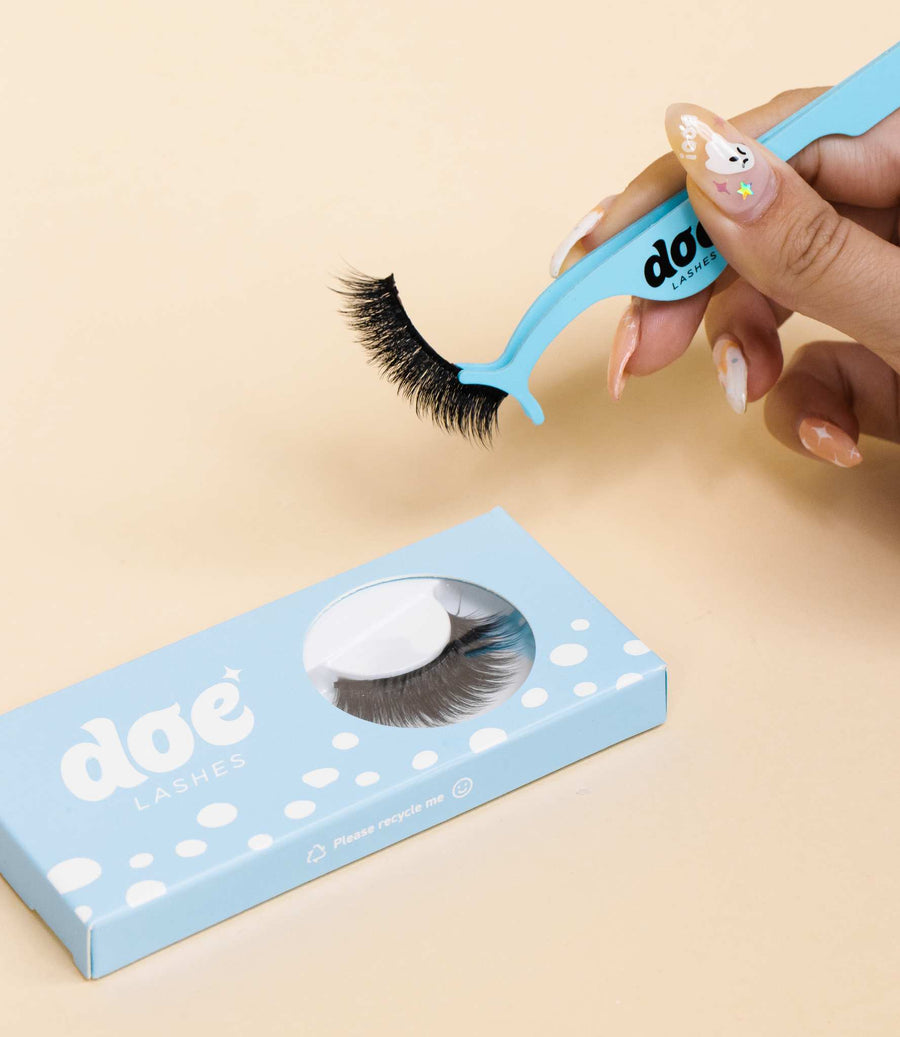
- Grasp as close to the lash band as possible, either with your fingers or with a clean pair of tweezers, attempting to avoid your own lashes, and begin gently pulling the false lash band away from your natural lash line. Make sure you begin pulling from the middle of the band, not the outer edges. The middle of the lash band is more durable than the thinner, tapered outer edges. Pulling on the outer edges toward the corner eye areas increases the risk of breakage.
- Pull gently on the middle of the band until you feel the lash band detach from your natural lash line. If you feel pain, it is likely because you have grasped onto your real lashes as well as the false lashes. Simply let go and grasp the false lashes a bit further out from the lash band to ensure you don’t hurt your natural lashes in the removal process.
- Once the false lash band has detached from your natural lash line, you can gently grasp another portion of the band toward the outer or inner edge and gently pull it from your natural lash line . By now, the entire lash strip should basically be detached from your natural lash line. Remove any remaining portions that are still attached by gently tugging the entire lash band off and away from your natural lash line.
Once you have removed your lashes, there are a few housekeeping tips you should do to avoid allowing your lashes to be exposed to environmental harms and to keep them in clean, like-new shape.
Storing Your False Lashes Properly
Now that you’ve removed your lashes, you can remove your other eye makeup normally. Your false eyelashes should always be removed prior to using any type of eye makeup remover, gel, or cleanser, especially when it comes to baby oil, coconut oil, olive oil, or any other types of oil (it sounds weird, but people try all sorts of things in the name of beauty). These removal methods can seriously damage your lashes and make the lash adhesive incapable of adhering to your lash line.
After removal, you should clean the back of your cotton lash band. There will be a small line of leftover eyelash adhesive on the back of the lash band that should be removed prior to storing your lashes. You can remove this adhesive by gently rubbing your thumb and forefinger on the cotton lash band until the adhesive forms a little ball. Then, simply swipe downward (never outward) to remove the adhesive. You can do this down the entire lash band until all the adhesive comes off. Try to avoid pulling down the length of the lash band, as that can cause the lash band to break, or can cause your lashes to lose their shape.
You now need to ensure proper storage of your false lashes. If you’ve ever gone through the intense irritation of losing a favorite lash, you know that proper lash storage is an absolute must. The best way to store your false eyelashes is to place them back in the original packaging in which they came. If you’ve got a Doe Lashes little blue box, you can simply place them back on the half-moon tray. Curling your false lashes around the half-moon tray for the night will give them the chance to retain their shape. Once you have curled the lashes onto the tray, slip the tray back into the original box and store them in a cool, dry place, out of direct sunlight and away from extreme heat (like hot water, blow dryers, hot irons, standalone space heaters, and the like), as these can all damage the integrity of your lashes.
You will also want to store your lashes somewhere other than your bathroom sink. Not only does storing your lashes on your bathroom counter present the opportunity for them to accidentally slip down the drain, but there’s also the chance of them getting wet with water, soiled with makeup, splashed with body mist or hairspray, or even doused with toothpaste. The bathroom vanity simply isn’t a great place for your lovely lashes to live while they aren’t in use.
Now that you know how to remove your lashes like a professional, you should never have to worry about a set of lashes not lasting for up to 15 uses. You also won’t have to worry about losing them and frantically trying to find them while getting ready. Proper lash care ensures your lashes are always in great shape and located where they should be, and it literally takes an additional minute of your time to properly care for them.
Removing false lashes can be done quickly and easily. It’s an important step in wearing false eyelashes and ensures they last as long as possible. Storage of your false lashes is also important. The best way to store your false lashes is usually in their original packaging. This allows them to retain their shape for that natural look and also to be protected from outside environmental dangers. You can become a false eyelash removal professional by simply investing a little extra time in removing your lashes each time you wear them. It is worth your time and effort (not to mention it’s great for your investment) to take care of your lashes so they always look gorgeous when they are reapplied next.
Sources:
https://www.cosmopolitan.co.za/beauty/retro-revival-bold-60s-false-lashes-are-making-a-comeback/
https://mybeautifulfluff.com/blogs/fluff/how-to-safely-remove-fake-lashes